开始使用
建立项目目录并安装
take route-coc-hello # 创建目录并进入
npm init # 初始化一个工程
npm install route-coc --save # 安装route-coc并保存
route-coc是基于express.js构建的,并且添加了express.js依赖,所以不需要另外单独安装express.js。
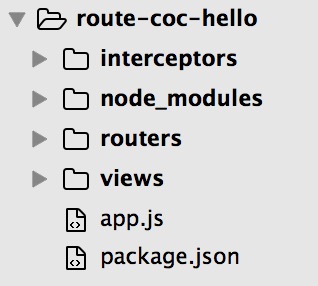
建立约定的相关配置目录:routers、interceptors、views,创建启动文件app.js, 之后目录如下图所示:
在app.js中添加如下代码
const express = require('express');
const coc = require('route-coc');
const log = require('t-log');

const app = express();
const stage = coc(app);

const port = 8080;
app.listen(port, () => {
 const startInfo = `server run at http:\/\/localhost:${port}`;

 log.info(startInfo);
});
运行node app.js。
即可启动一个暂无任何路由配置的server。
当然暂无任何功能。添加view和router配置。
在routers目录下建立hello.js, views目录下建立hello.njk。
hello.js写入以下路由配置:
module.exports = {
 '/hello, /hello/:name': {
   'get': {
     handle(data, req) {
       return {
         'username': req.param.name
       };
     },
     view: 'hello'
   }
 }
};
hello.njk写入以下内容:

OK! 再次启动app: node app.js,分别访问: http://localhost:8080/hello
http://localhost:8080/hello/lily
看看页面呈现吧。
备注:
- route-coc本质是express的middleware实现,因此express本身的各种API也可以使用。
- 以上代码可以在 https://github.com/tofishes/route-coc-hello/tree/master/code 找到。